Grid Clipping Standard Operating Procedure
1. Purpose
Successfully clip grids into TFS autogrid rings.
2. Definitions:
2.1 An autoloader system is a robotic system for loading cryo-EM grids into the microscope, in which the user inserts clipped grids into a cassette that is automatically loaded into the microscope using a retractable arm.
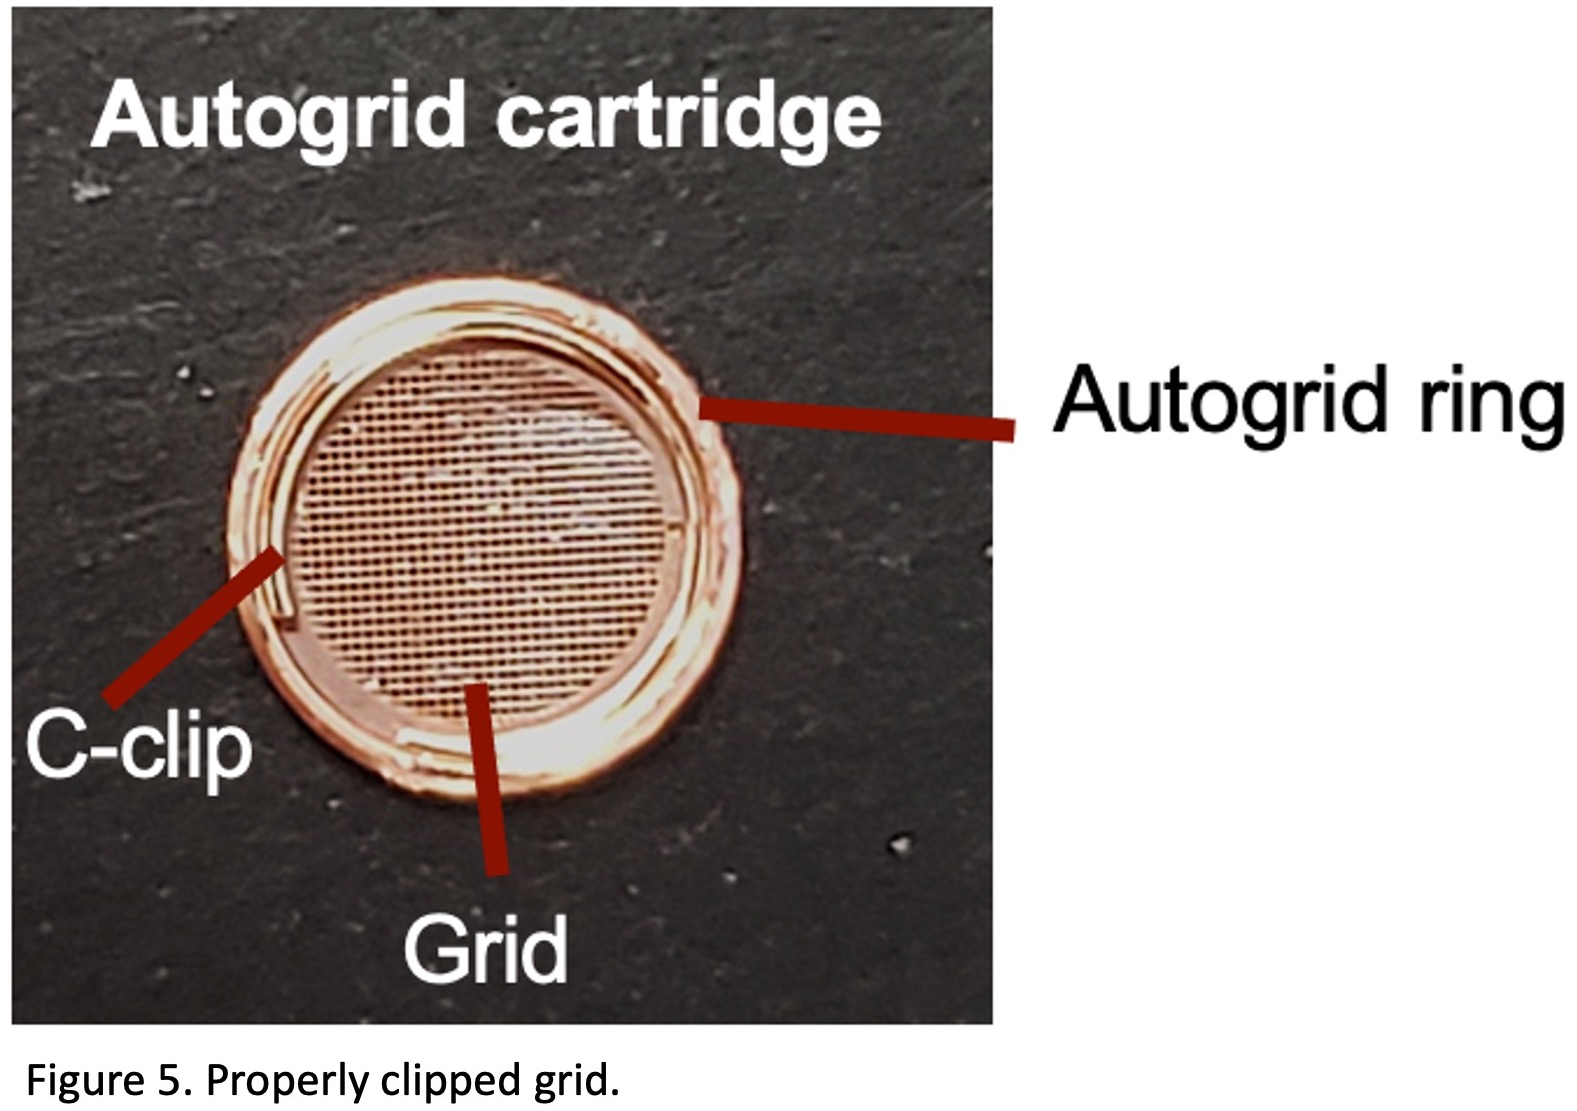
2.2 C-clips and rings are attached to a cryo-EM grid to allow a robotic retractable arm to grip and load the grid in an autoloader system.
2.3 Liquid Nitrogen (LN2) is a cryogenic liquid stored under pressure.
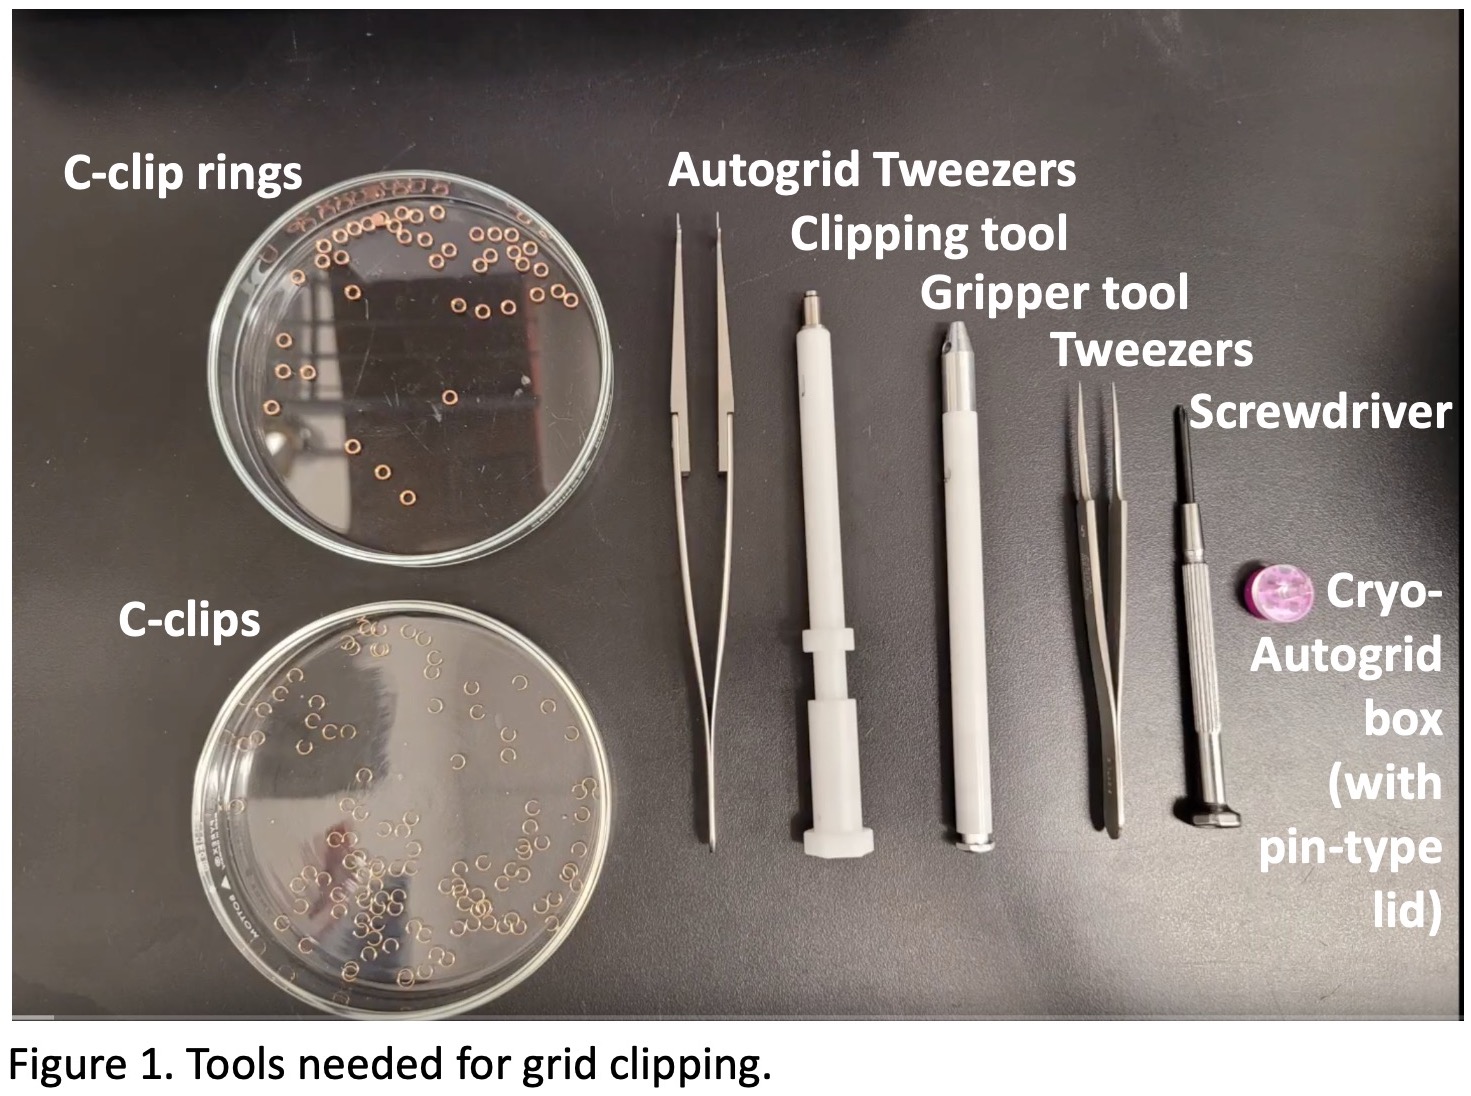
2.4 Definition of terms for tools/equipment can be found in Figure 1.
3. Supplies & Equipment
- PPE (BSL-1)
- Laboratory Coat
- Nitrile Gloves
- Goggles / Safety Glasses
- Cryogenic Gloves
- Face Mask
- Table-top clipping station with aluminum & brass transfer pedestal
- C-clips (one per grid)
- Autogrid rings (one per grid)
- Autogrid tweezer
- Fine tip tweezer
- Autogrid storage boxes and lids
- Autogrid box lid gripper tool
- C-clip clipping tool (one per grid)
- EM grids with your vitrified sample in a grid box under LN2.
- Sample transfer dewar
- Liquid nitrogen storage dewar
- Screwdriver (if needed for screwed grid boxes)
- Large forceps
- Hair dryer or heat block (if needed to dry tools)
4. Procedure
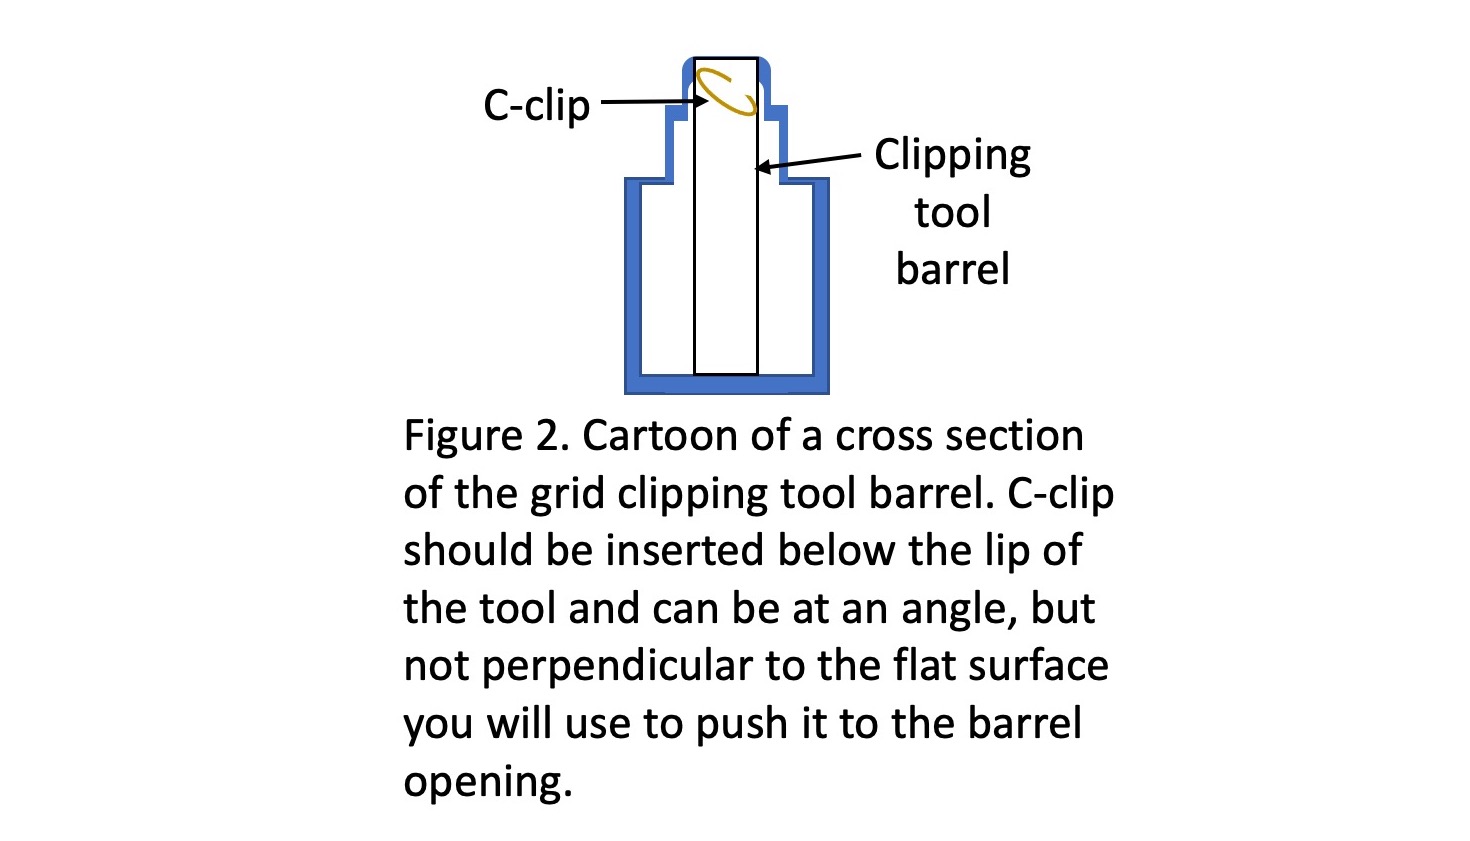
4.1 Loading the C-clips into the clipping tool
4.2 Preparing the Clipping Station
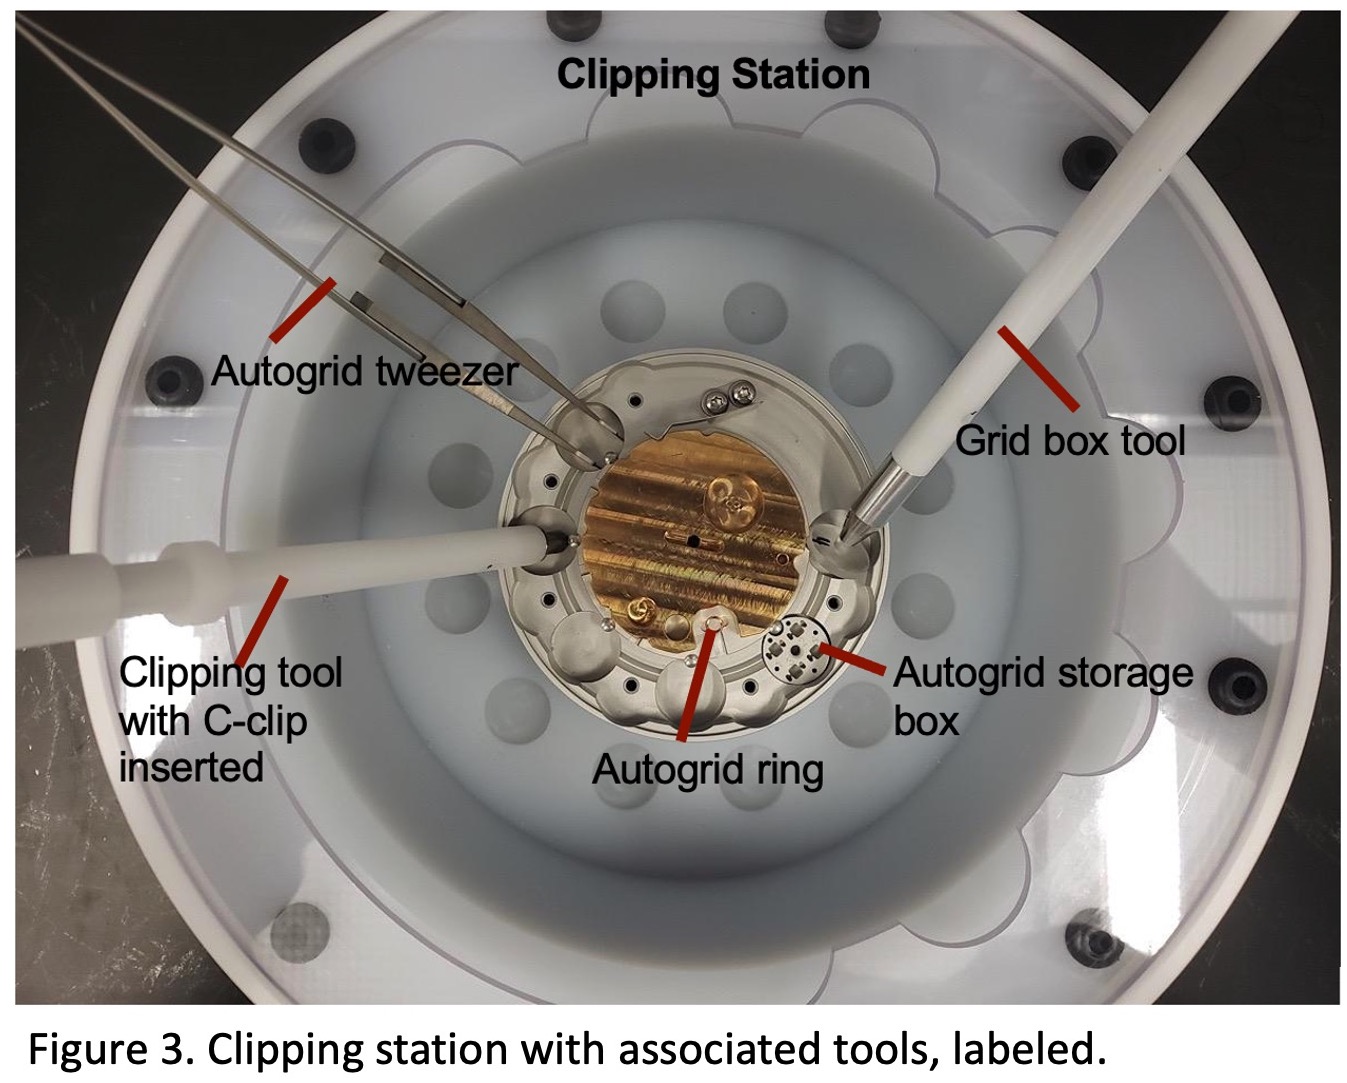
4.3 Clipping grids
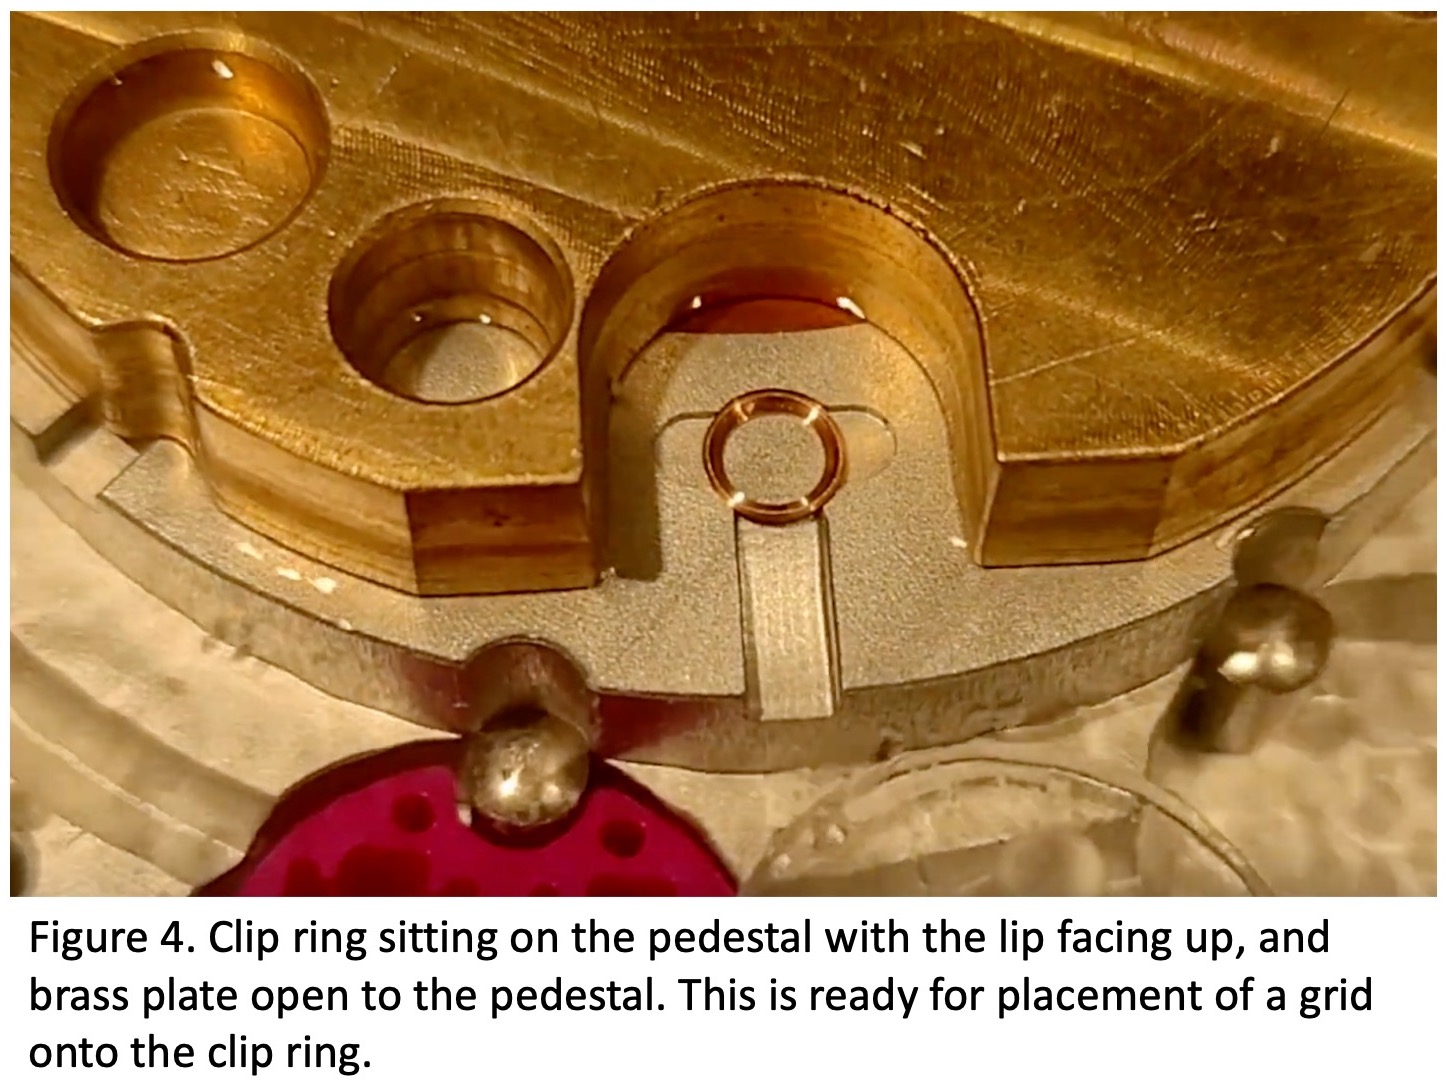
4.4 Cleaning up
5) Chemicals:
-
- Liquid Nitrogen
6) Waste Disposal:
-
- Follow facility procedure for proper disposal.
